1.
The beginnings |
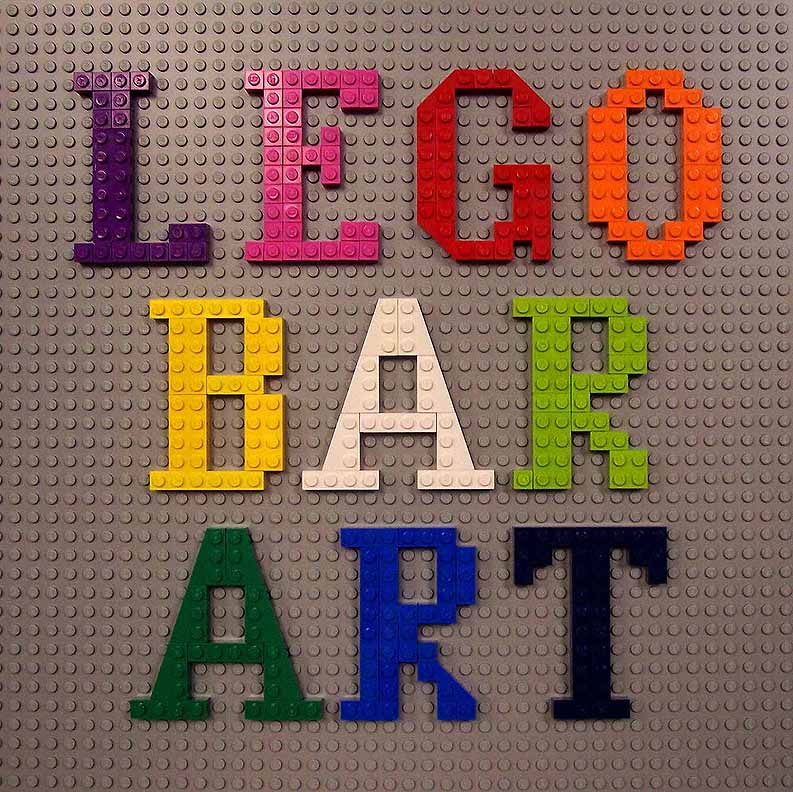 |
Lego Bar Art
Mosaics, mostly using just standard Lego bricks,
placed on the face of our recreation room bar
As usual, just click
on any snapshot for an enlargement
suitable for downloading, printing (or framing?)
1.
The beginnings |
|
 |
 |
 |
 |
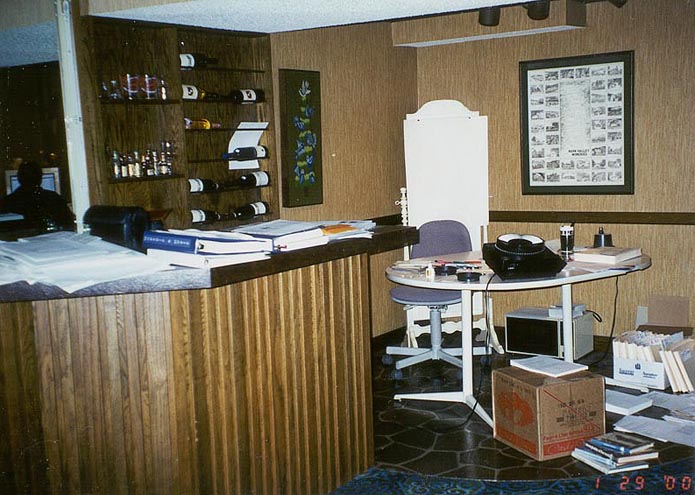
| The playroom
(and bar) as it looked before 2000. |
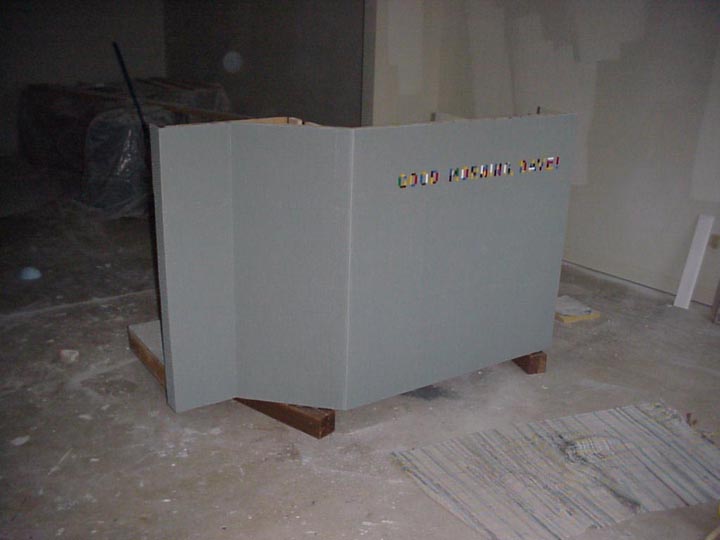
Here's the
bar with Lego baseplates attached, ready for reinstillation. |
And this is
the way the playroom looked before I started added my junk! |
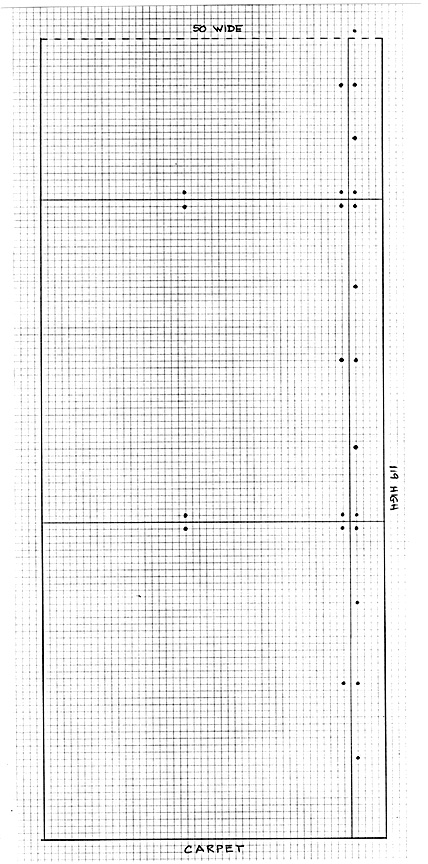
The end of
the bar facing the recreation room was quickly grided onto 1/8" graph paper |
2.
The Mosaic Plan |
 |
 |
 |
 |
|
| The first
step is to pixellize the Pooh, in this case 40 wide. |
Then I block
out the page, usually in grids of 5, either starting top or center. |
At this point
I usually transfer the picture to my bar or base- plate grid, especially if there are words to be plotted. |
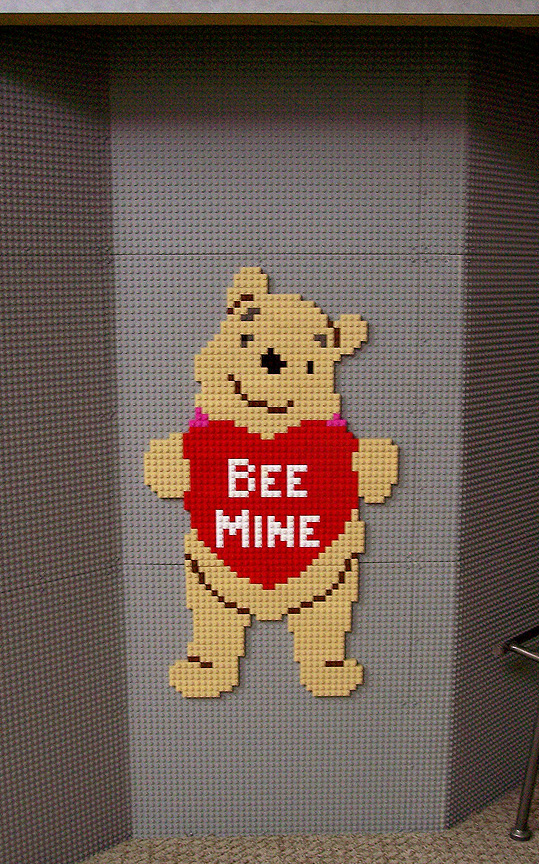
Finally out
comes the Lego and we have mosaic art, in this case for Valentine's Day 2009. [My wife loved it!] |
3.
Examples of my mosaics: They are often seasonal, so let's
work our way through the year. |
 |
 |
 |
 |
 |
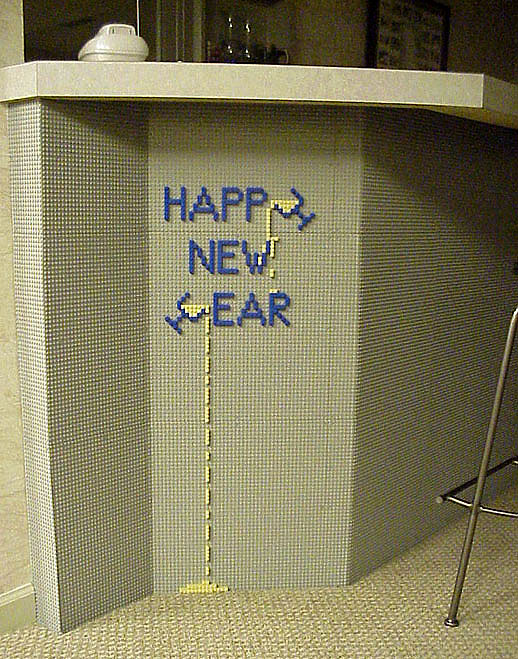
| New Years Eve
2002 featured bar art for our annual party. |
By 2007 the
display was much more colorful. |
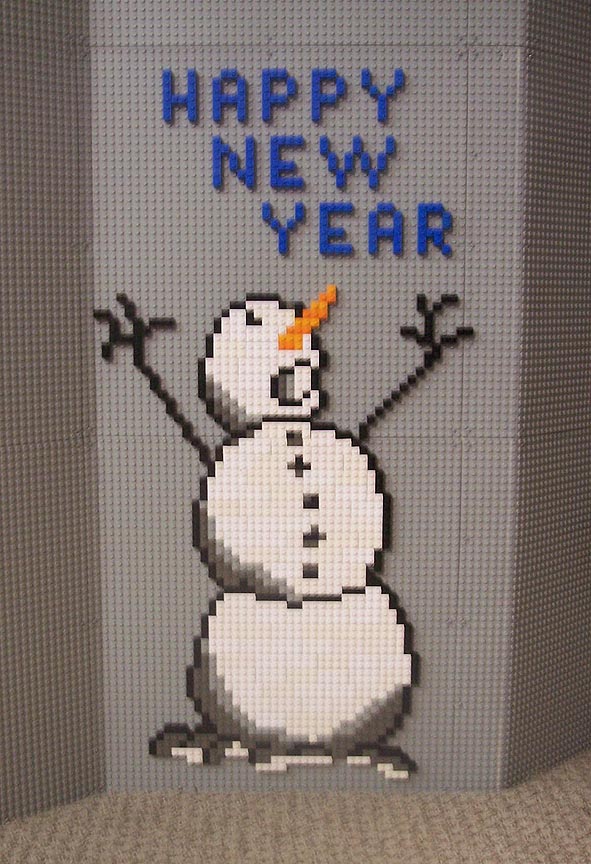
The next year
a snowman announced the New Year. |
Winter 2002
featured a simple message, forwhich I cannot find a photo. |
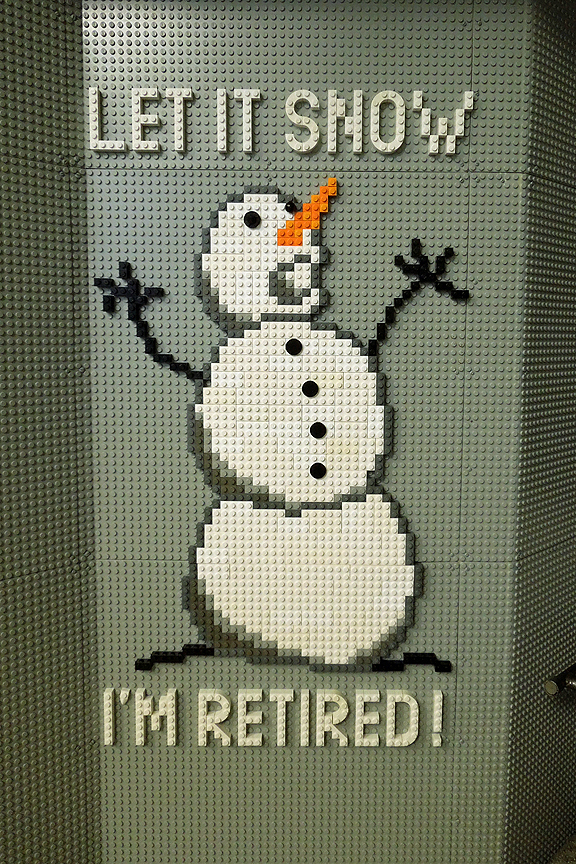
But my
retirement at the end of June 2011 resulted in a resurrected snowman. |
 |
 |
 |
 |
 |
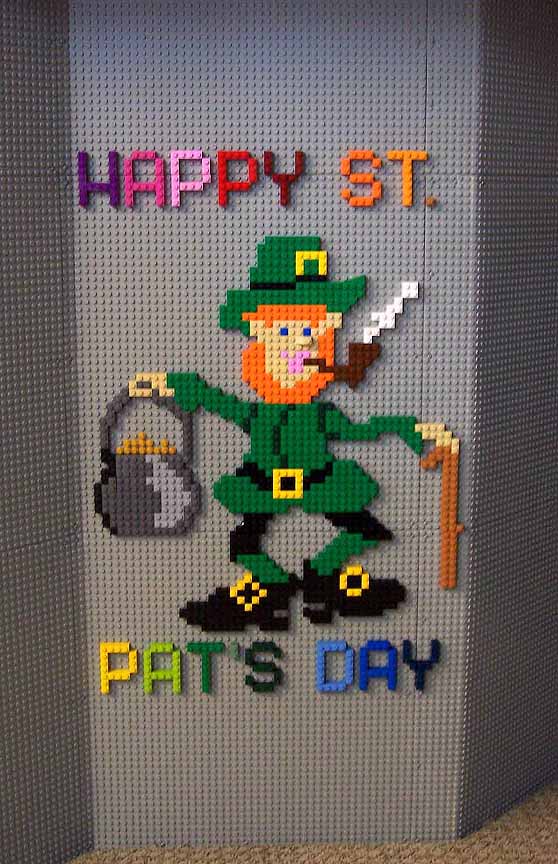
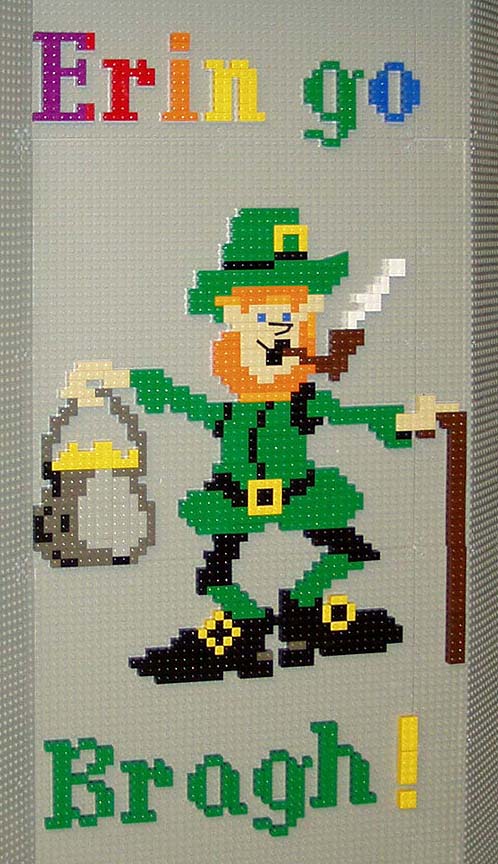
| The end of
winter doldrums is signalled by St Patrick's Day (see later below). |
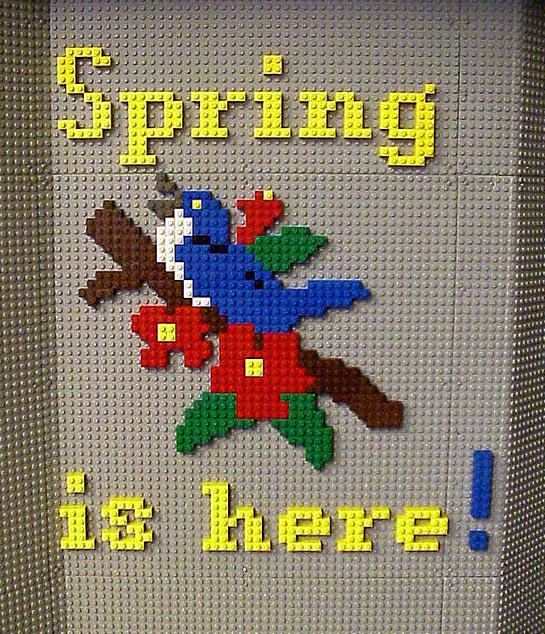
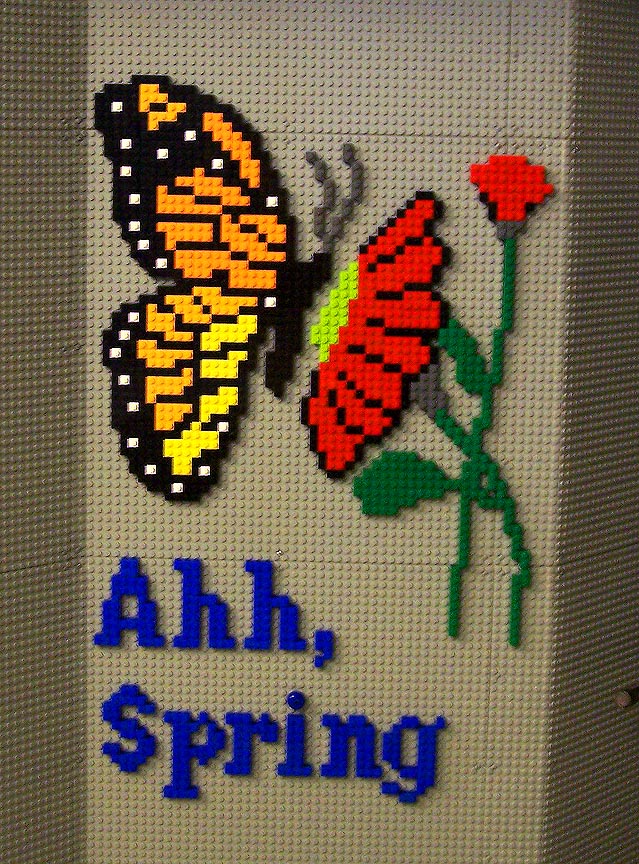
Spring 2002
was worth a new mosaic, in traditional colors |
2007 saw new
art and several new colors on my pallet... |
Which caused
the happy bluebird to return the next year! |
And again
with slight variations in 2012. |
 |
 |
 |
 |
| The very
first bar art heralded completion of the remodelling and the summer of 2001. |
On the other
hand, the summer of 2012 brought the worst drought in many years to Illinois. |
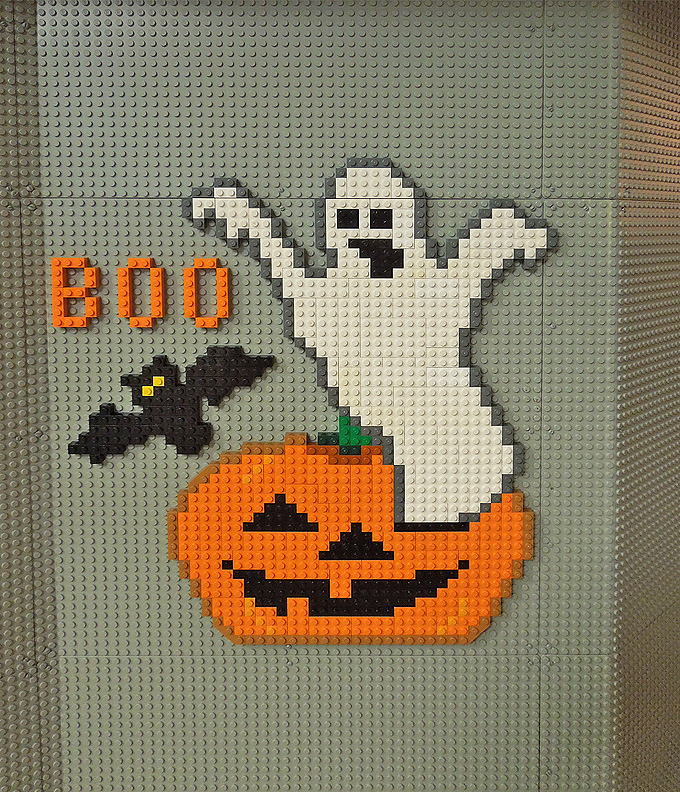
Halloween is
not usually an occasion to gather at our house so this is my first Halloween bar art |
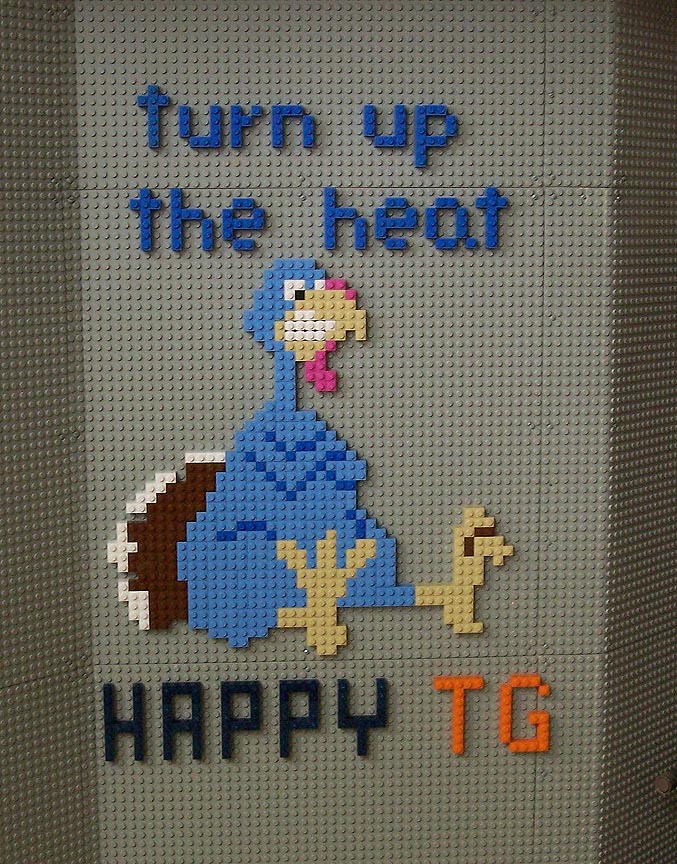
The cold
turkey is a favorite of mine, though we're not often home at Thanksgiving time. |
 |
 |
 |
 |
 |
 |
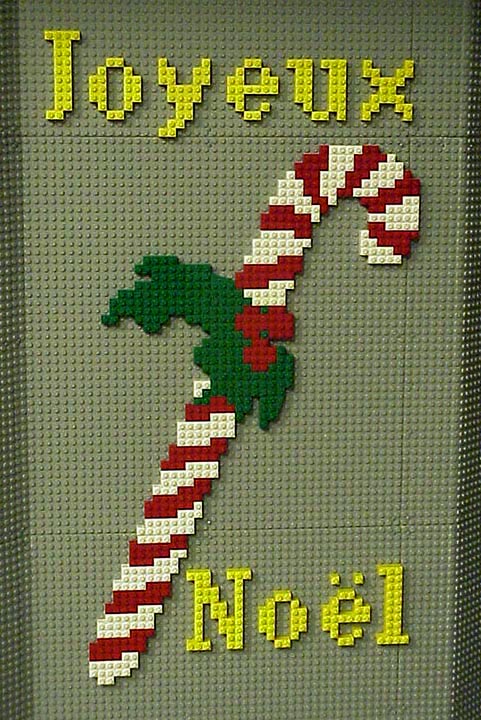
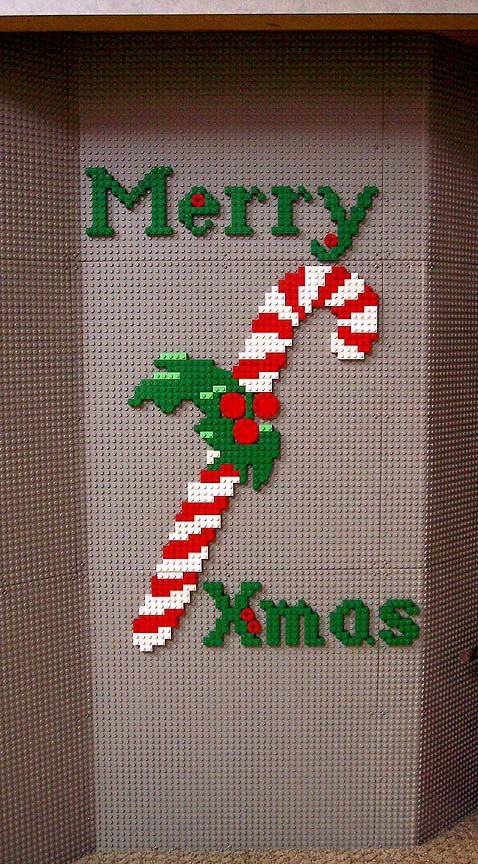
| Christmas
2001 inspired a candy cane... |
...which has been tweaked again... |
...and again
over the years until... |
...Christmas
got a little too long. |
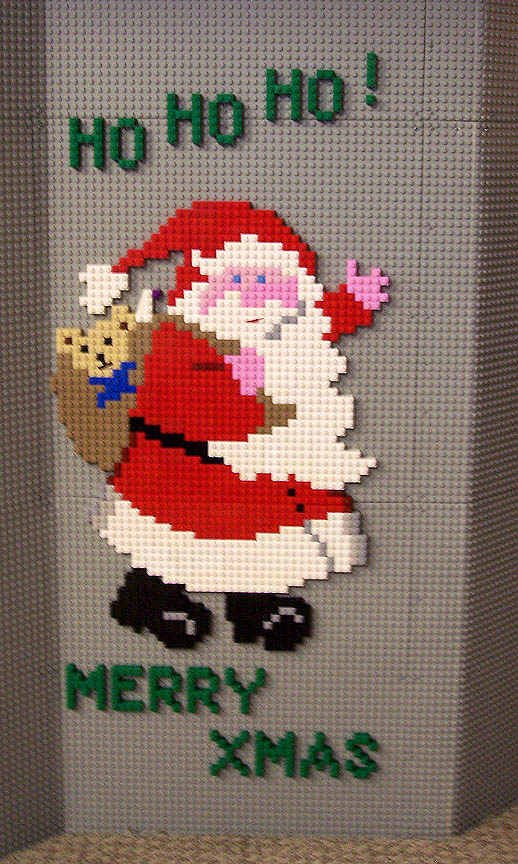
Then in 2010 Santa Claus arrived... |
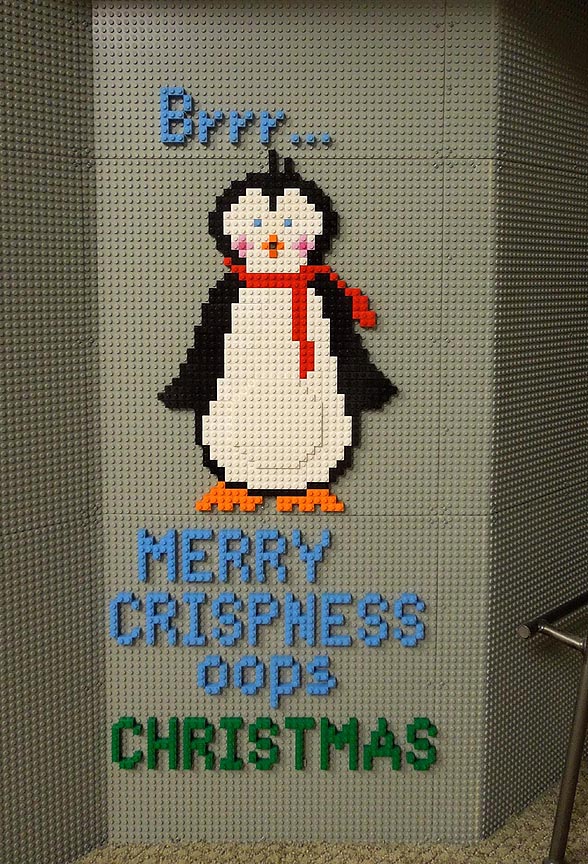
Followed by a chilly penguin in 2011 |
4.
Some of the Bar Art is done for special occasions... |
 |
 |
 |
 |
 |
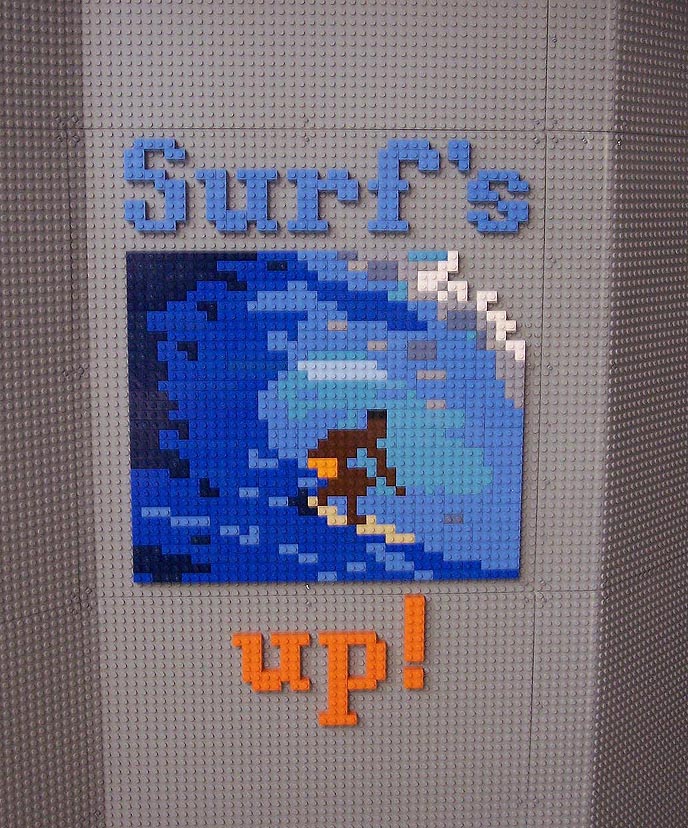
| A visit from
our California daughter Robbin and her surfer husband Ben. |
Our son Steve's
20th Eisenhower High School class reunion: Go Panthers! |
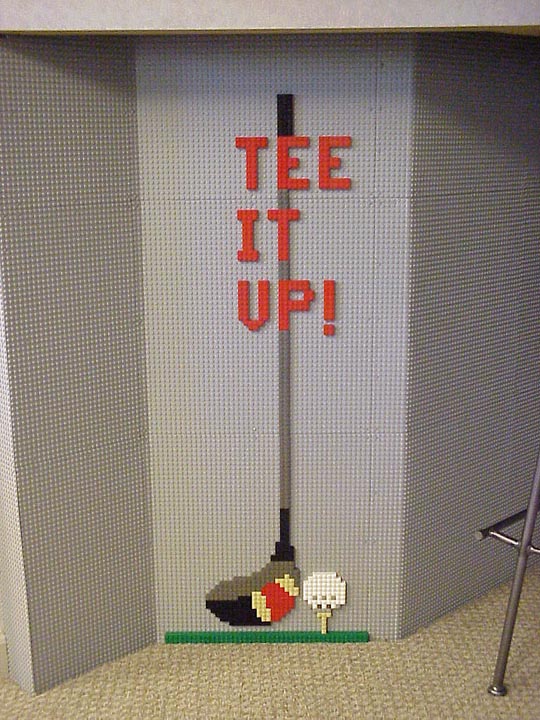
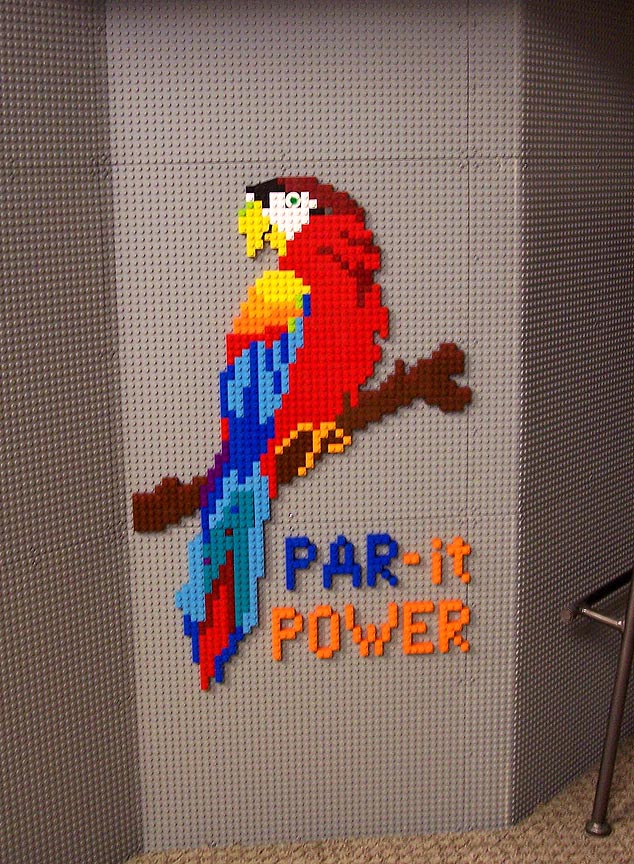
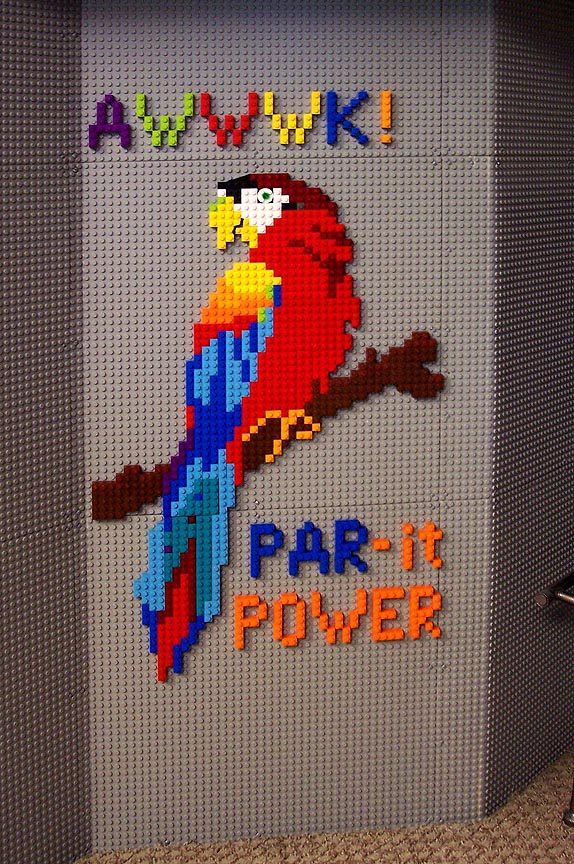
And the
roughly 20 year togetherness of our Couples Golf team, the PAR-its. |
We actually
placed 1st in the entire league one glorious year! |
 |
|
|
|
| Time will... | ...tell what art... | ...may be in... | ...my future. |
5.
Big Ten on 48 x 48 Baseplates - even suitable for framing! |
 |
 |
 |
 |
 |
 |
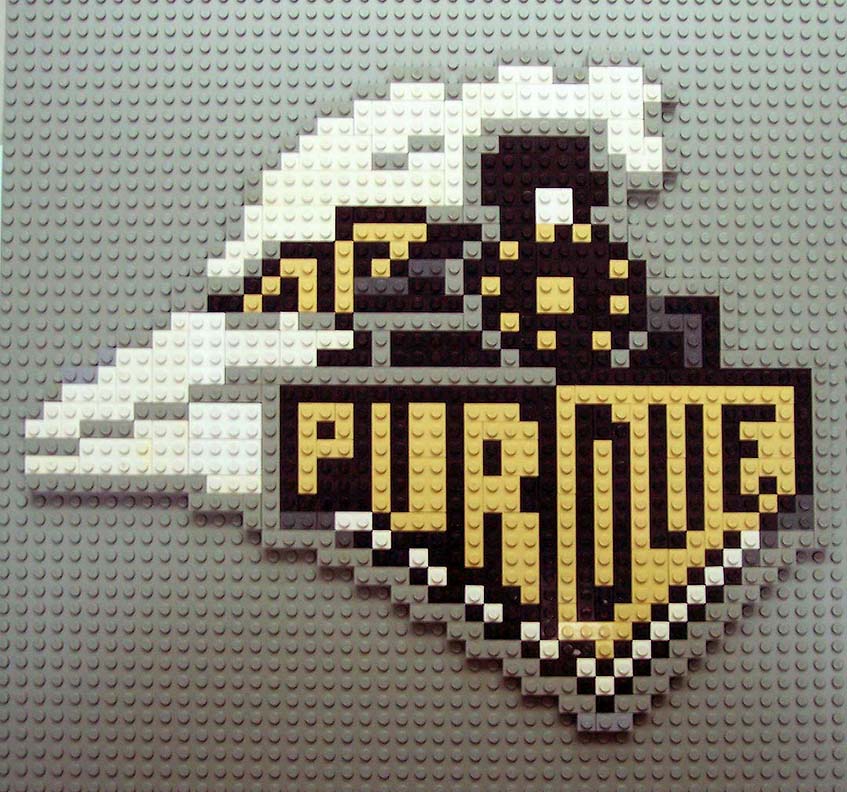
| Here's my
layout for the mosaic of Chief Illiniwek. |
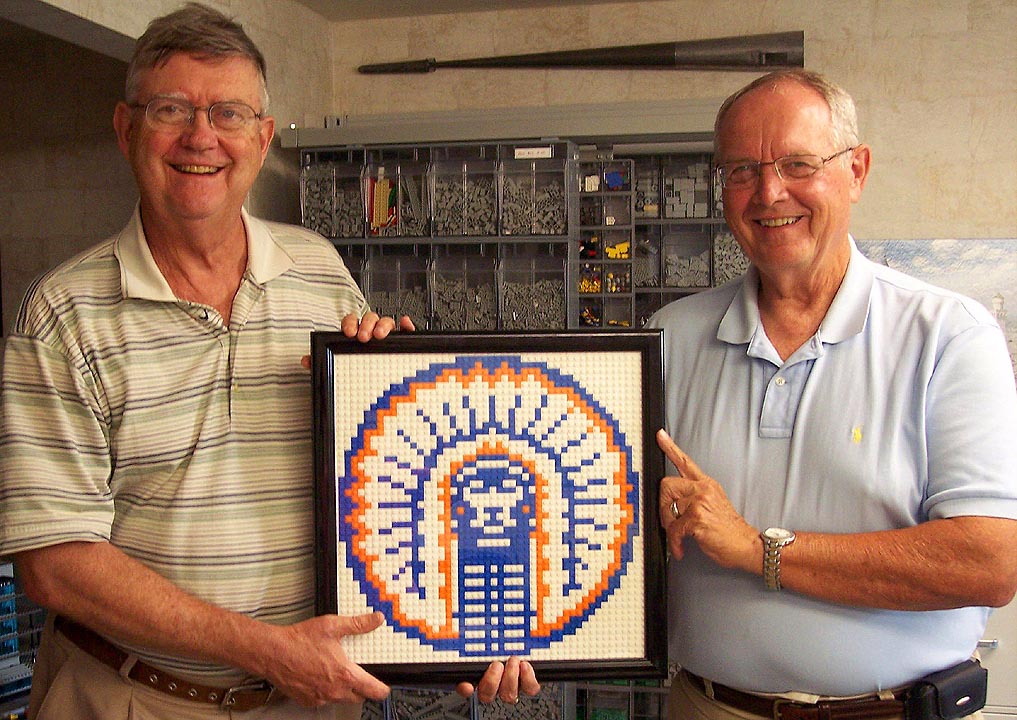
Here are
yours truly and Terry with his framed Illinois logo, done in blue, orange and white Lego. I'll likely use dark blue if I do one for myself someday. |
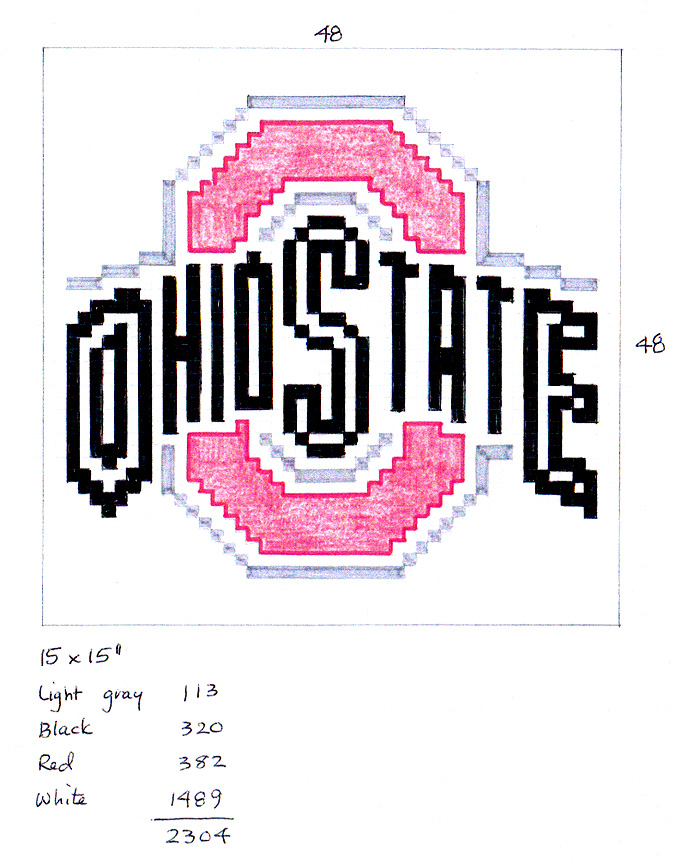
Terry is from
Ohio and a huge Buckeye fan, so naturally he's also done the Ohio State University logo as well. |
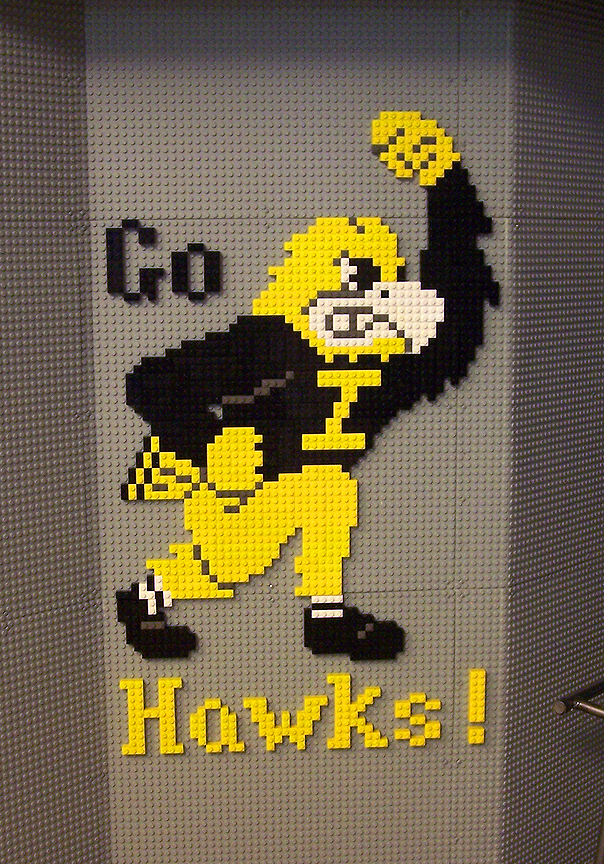
That all
naturally inspired me to do Herky the Hawk from my alma mater, the University of Iowa... |
And last
football season create a Tiger Hawk to monitor the football season - until the Hawks fell out of the Top 25. |
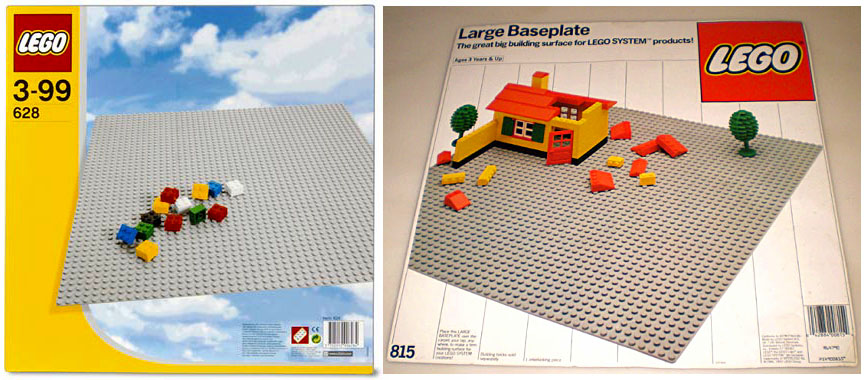
Many pictures
done on a 48-stud baseplate can be very reasonably priced,
even though the baseplate contains 2304 Lego studs.
Unfortunately Lego Group has (temporarily?) stopped
making 48 x 48-stud baseplates, though about 1500 light
gray and light bluish gray plates are on sale on
BrickLink for typically $10-15 with or without original
packaging. |
 |
 |
 |
 |
 |
 |
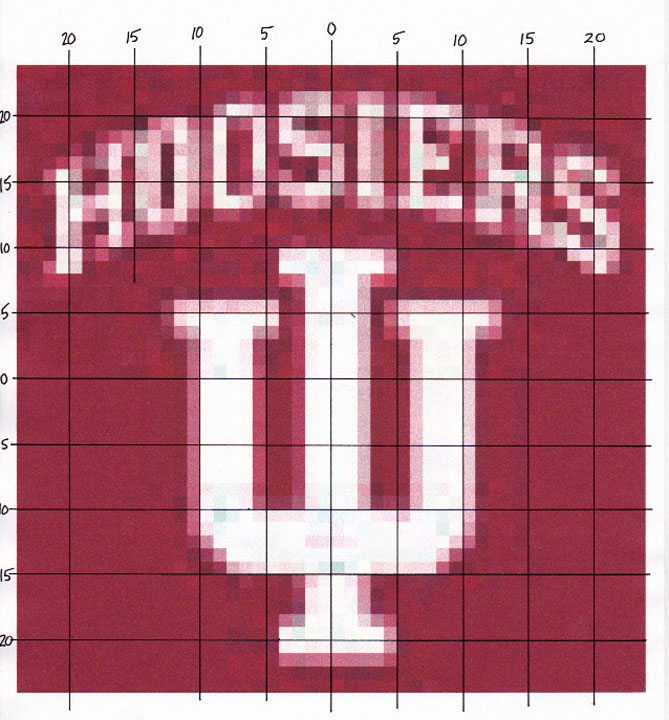
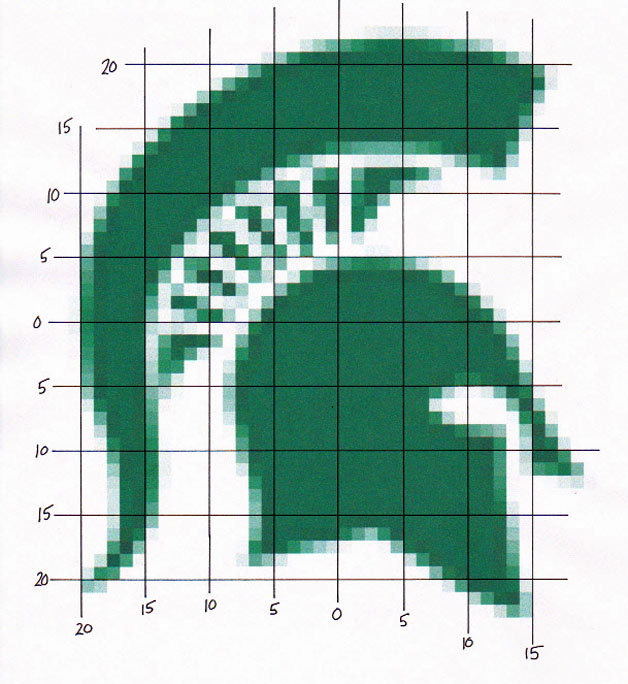
| Indiana Hoosiers | Michigan Wolverines | Michigan
State's old 'Sparty' |
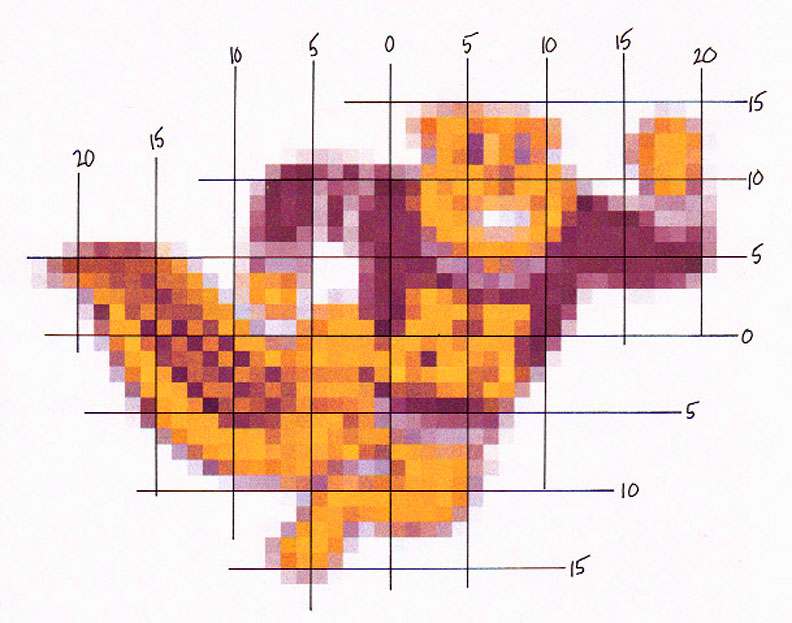
Minnesota Golden Gophers |
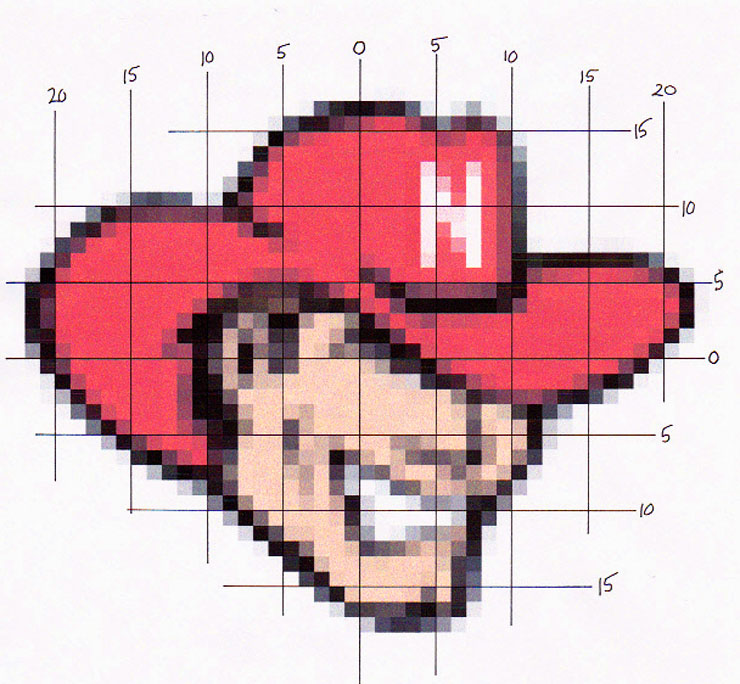
Nebraska Cornhuskers |
 |
 |
 |
 |
 |
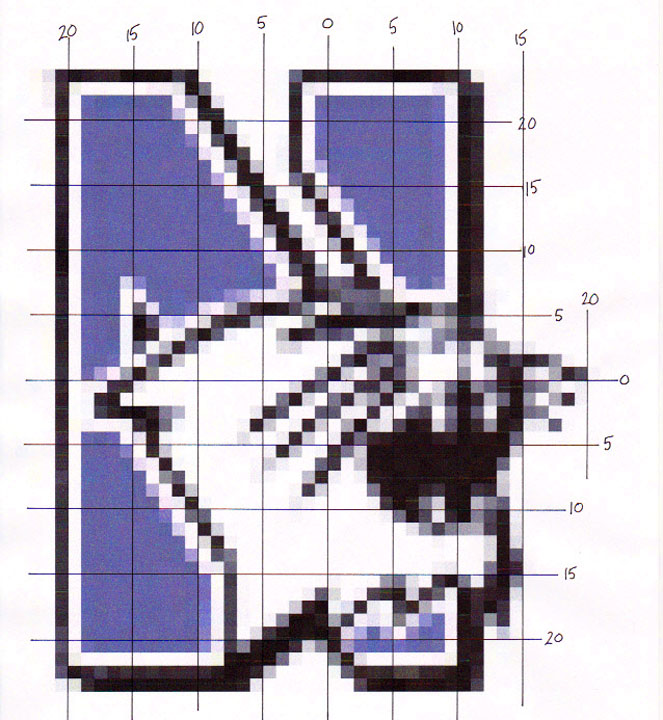
| Northwestern University Wildcats |
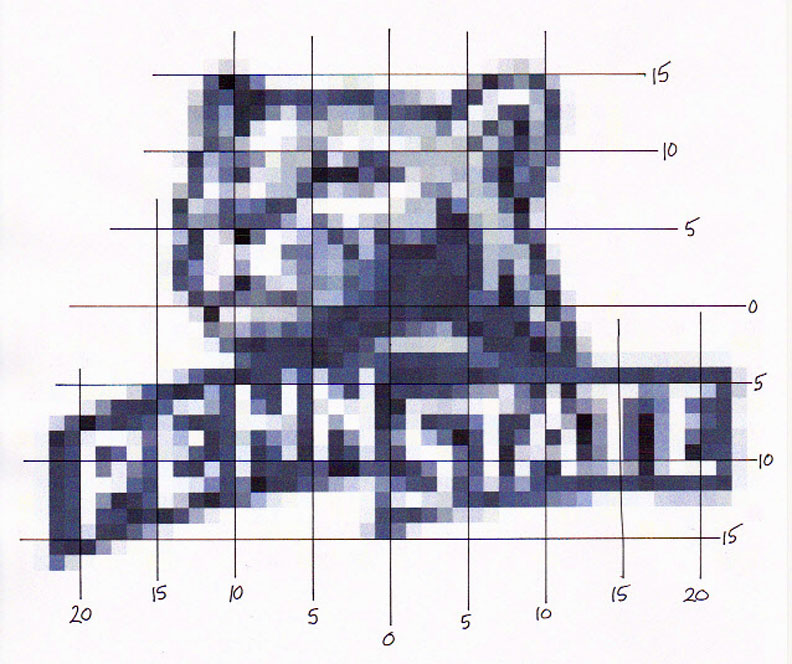
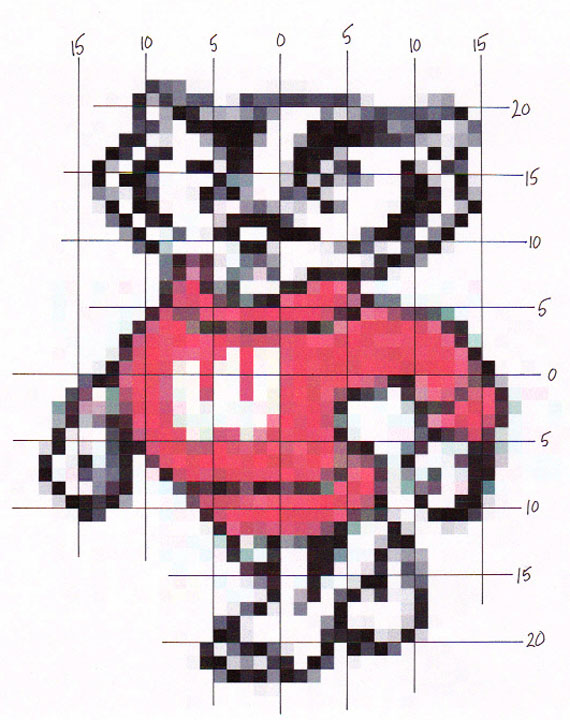
Penn State and their... | new sleek Nittany Lion | Wisconsin's Badger |
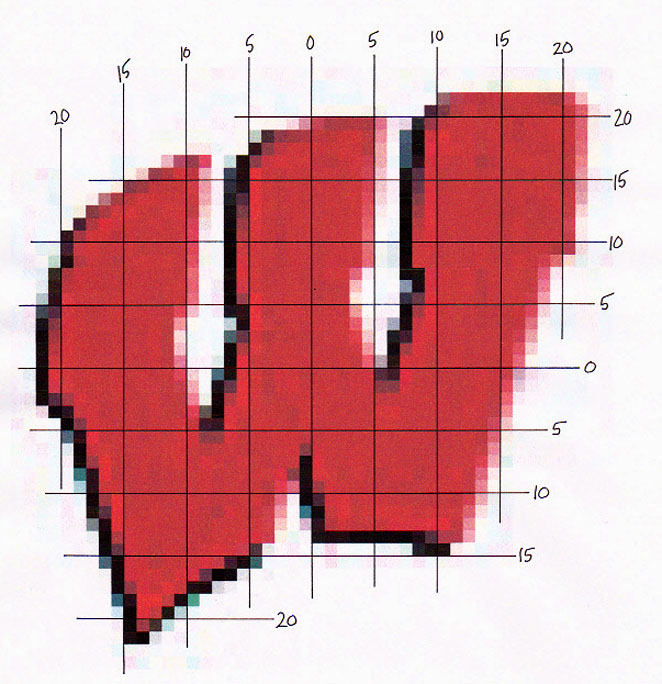
And the new W |
6.
And several Logos that are a must for all AFOLs,
especially in the midwestern USA. |
 |
 |
 |
 |
|
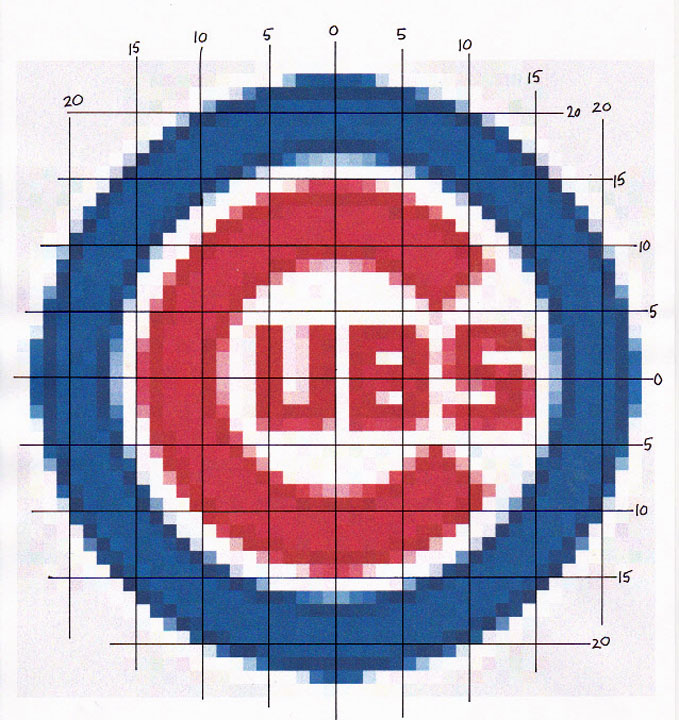
| Da Bears | The sweet but
ever losing Chicago Cubs |
The 2011
World Series Champion St. Louis Cardinals [exciting again this year] |
And the ever
popular - and ever beloved- logo of the Lego Group |
I'm currently
thinking I'll pixellize and plot your favorite team or logo for US$10. All rights reserved. Email me if interested. |
Return to the
main castle
page.